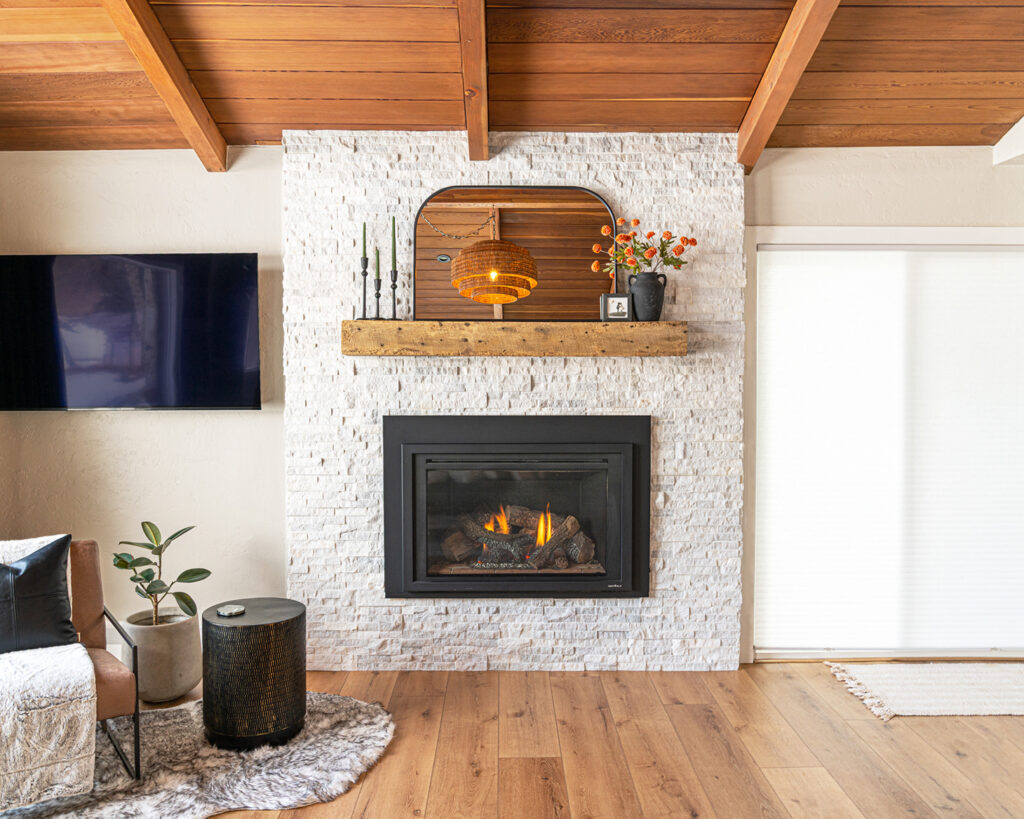
If you’re looking for an easy solution to hanging string lights in your backyard or an area where you don’t have anything to hang them to or plug them in, try this easy DIY project!
We hosted a 4th of July party at our house this year and I wanted more string lights to light up our back patio. We didn’t have a way of hanging them on the corner of our deck, so I made this DIY planter post with some hooks and it worked out perfectly!
The Before
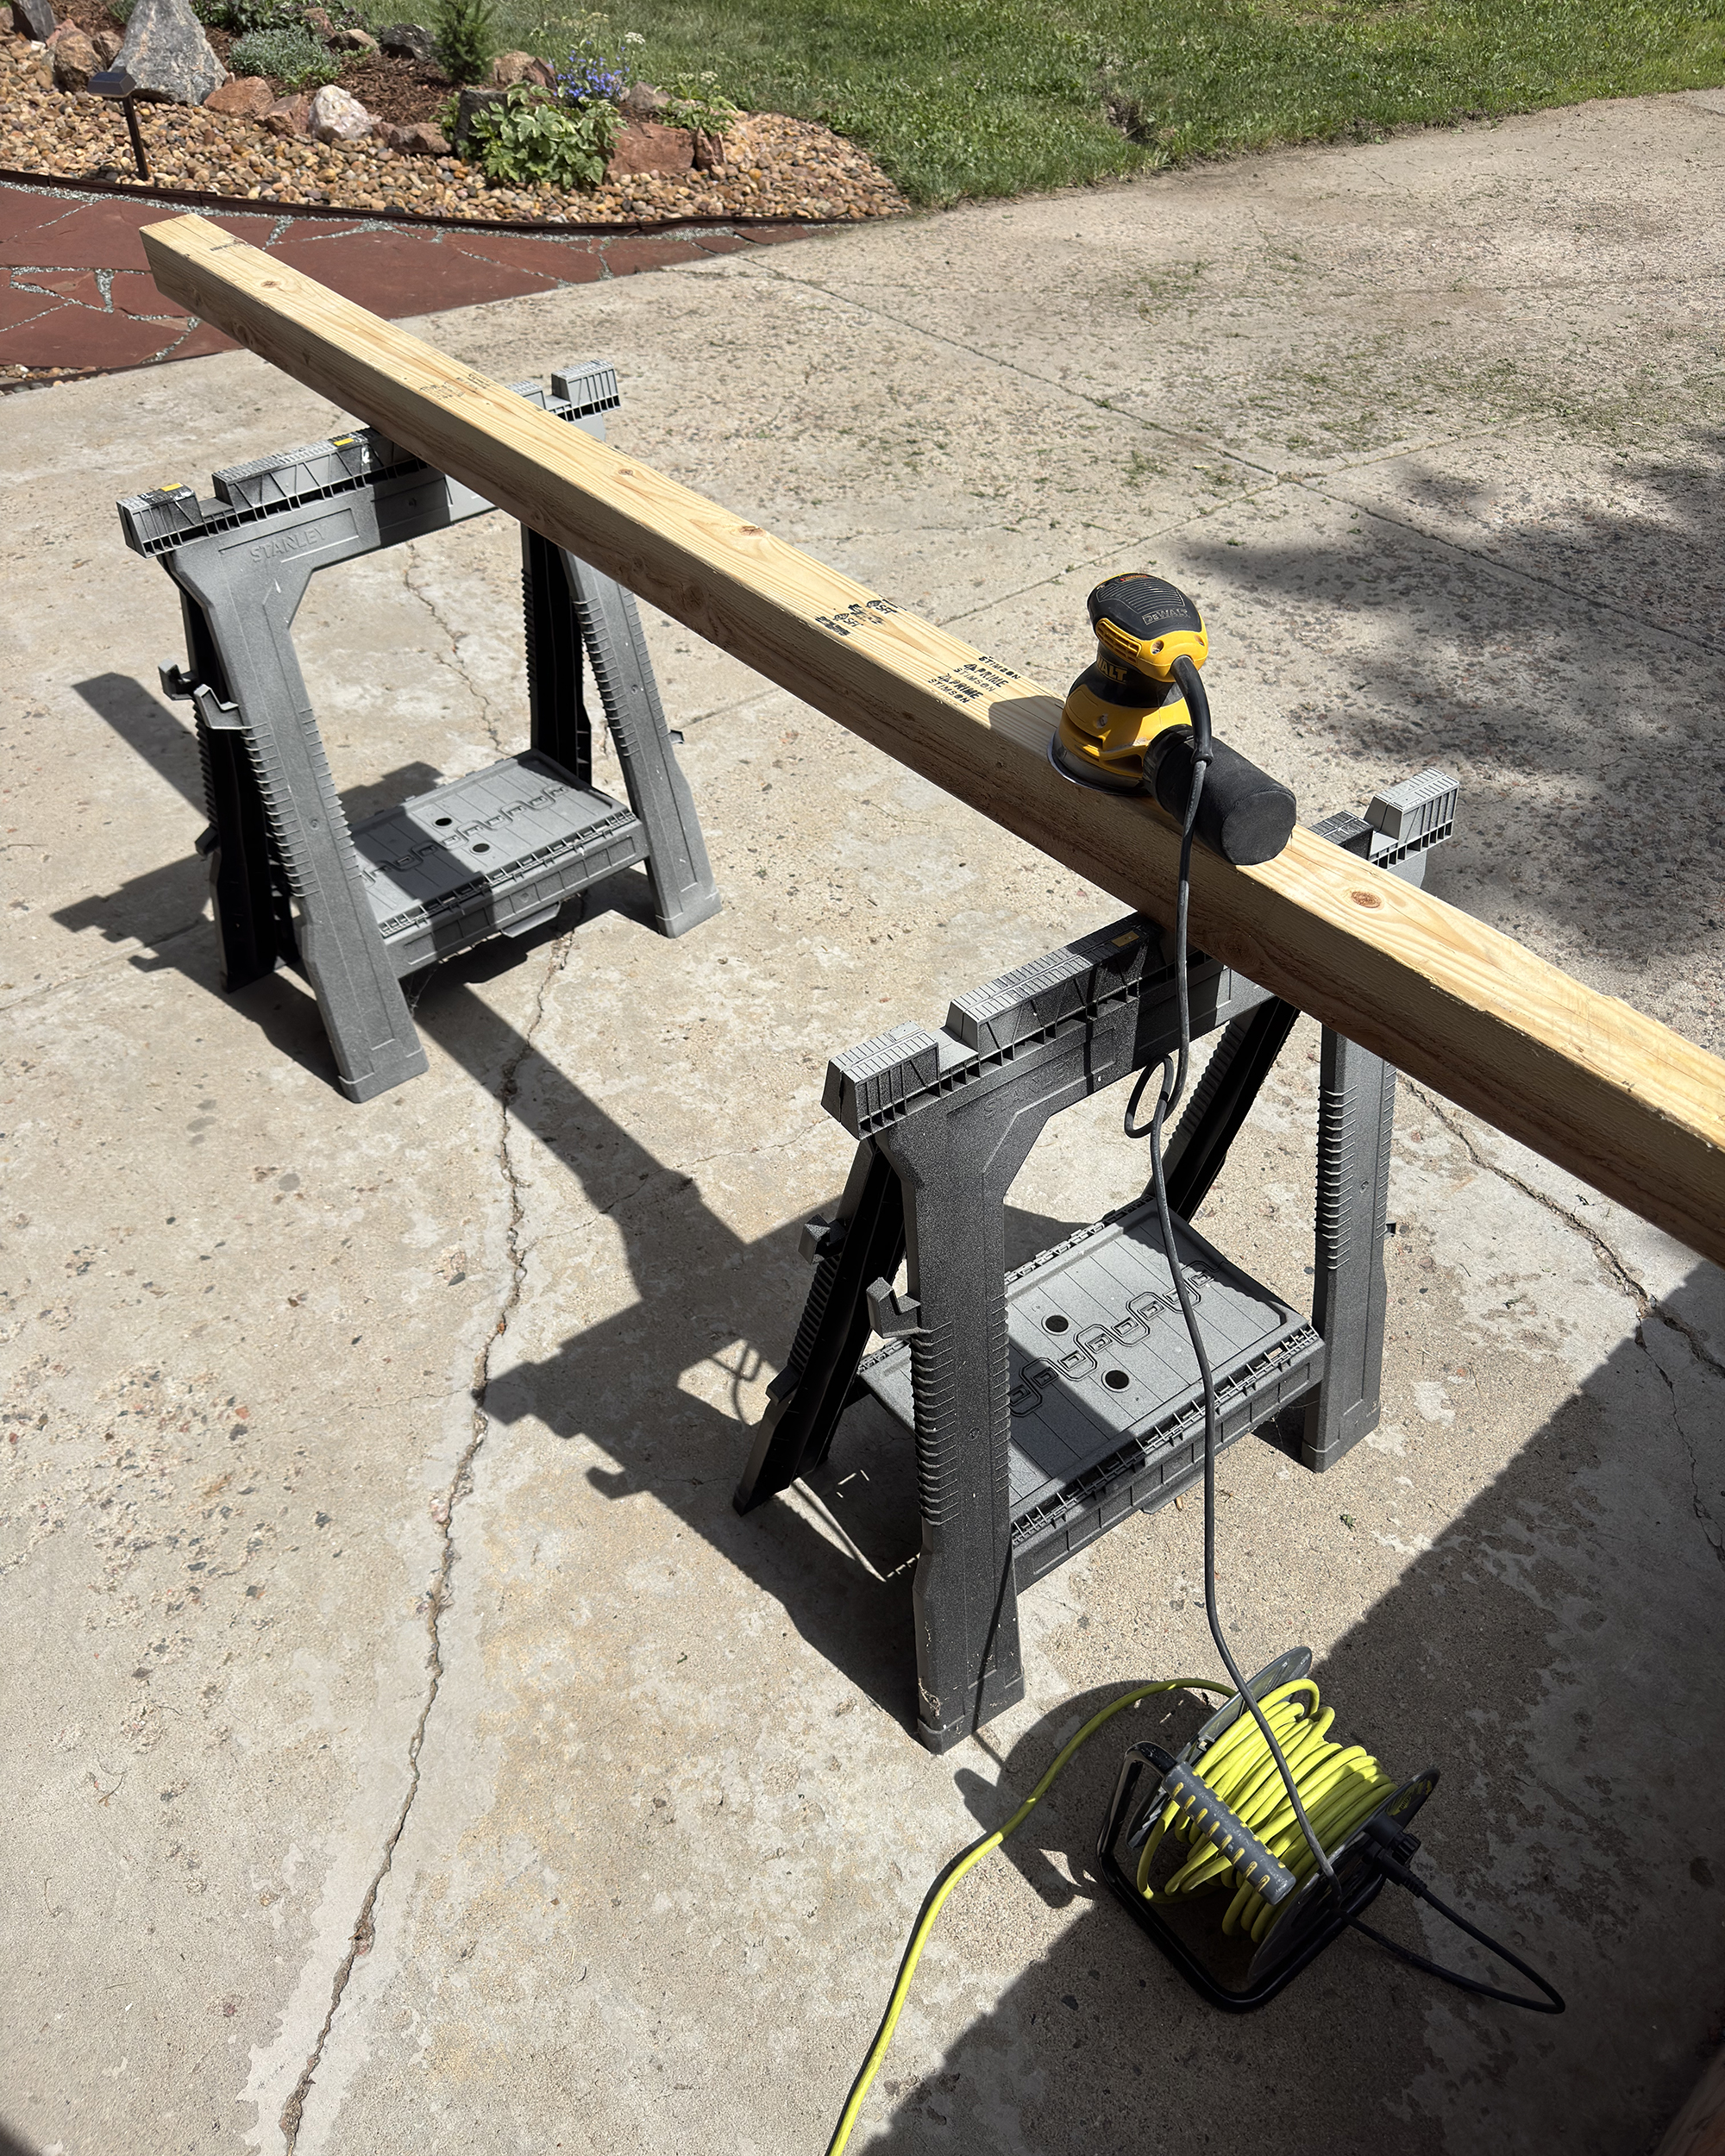
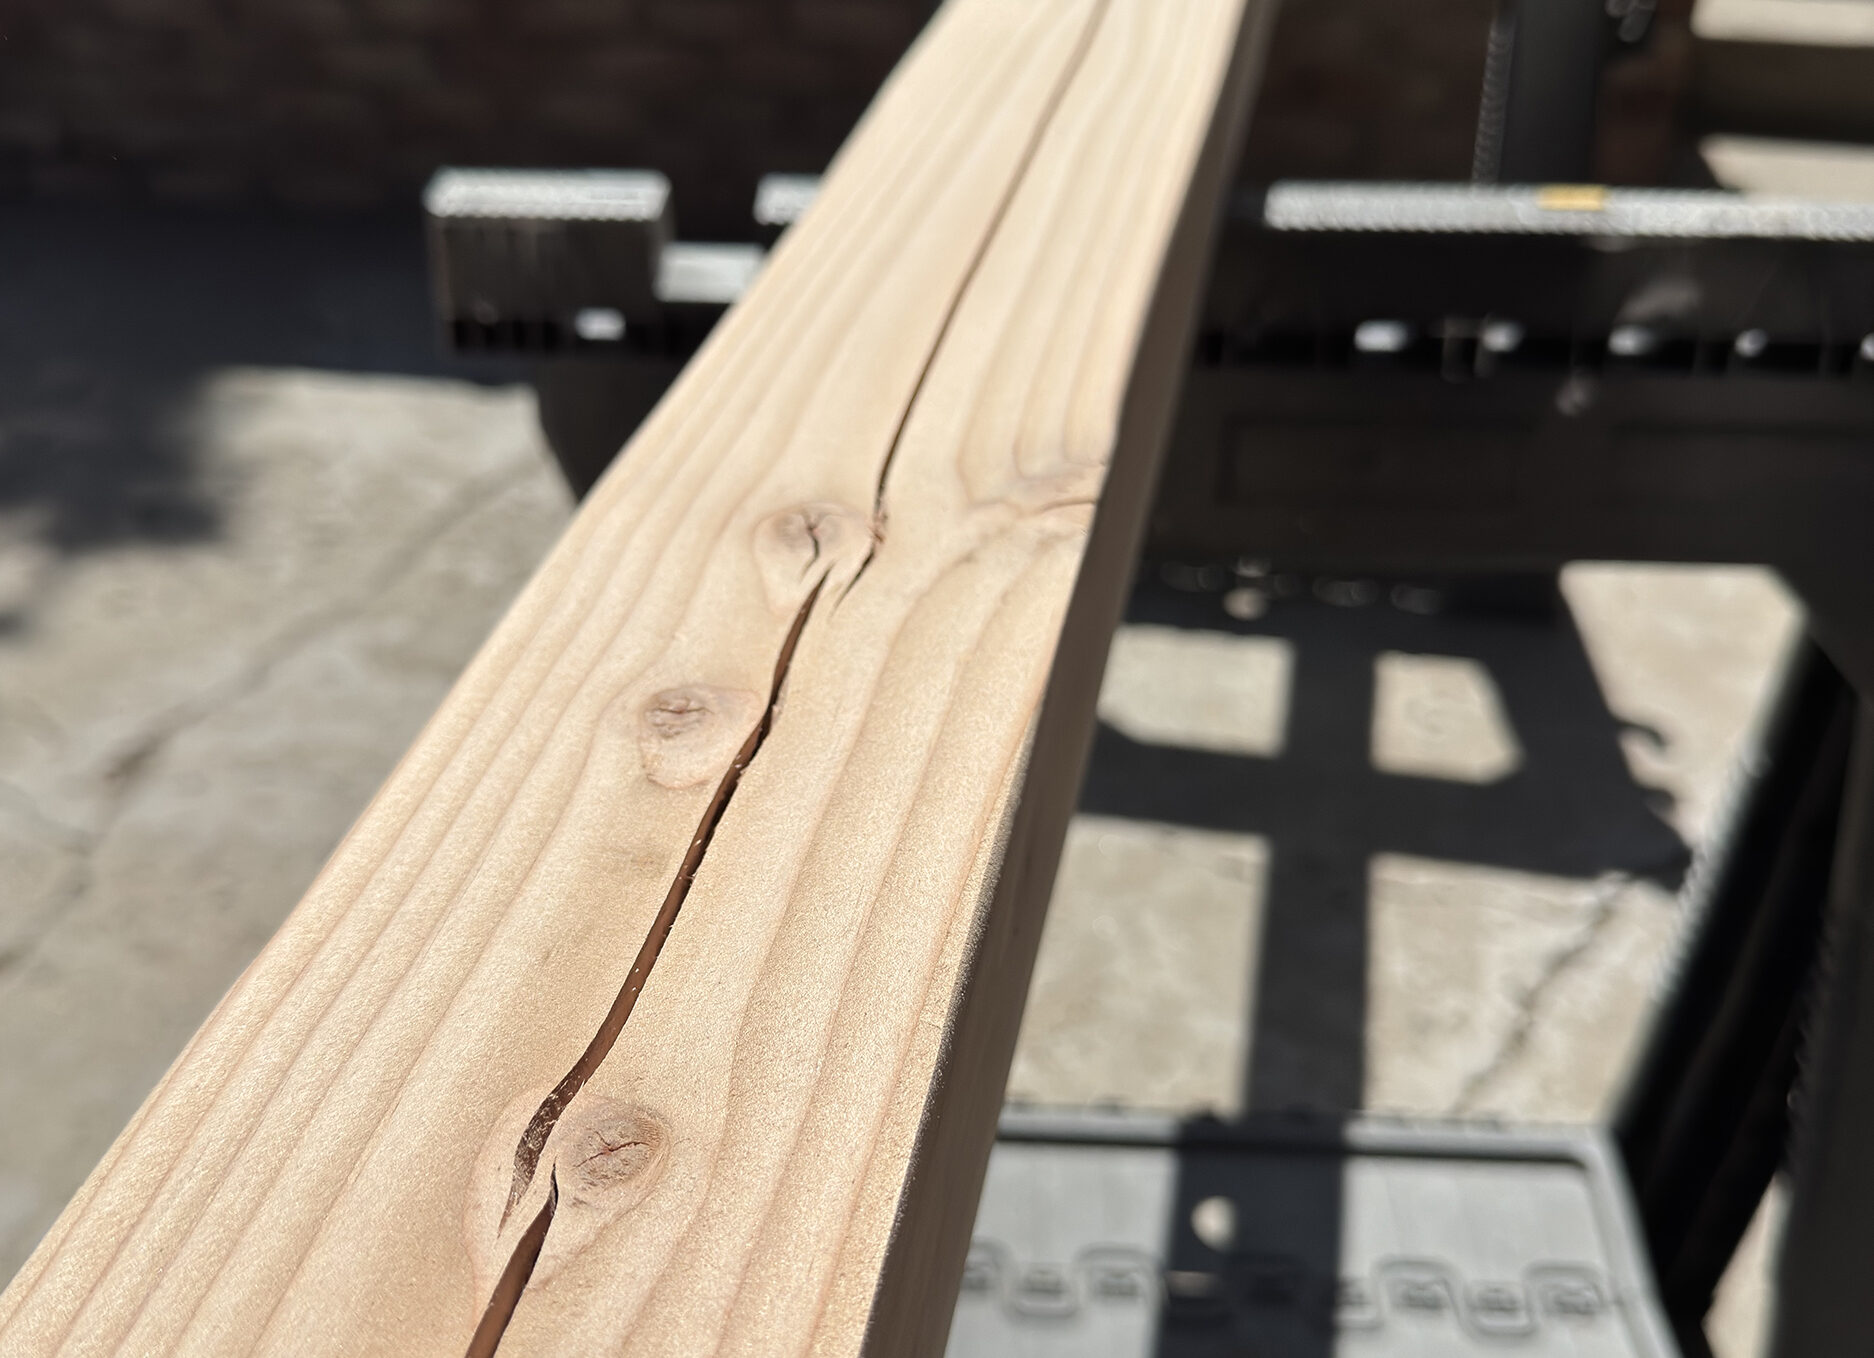
I had an extra 4×4 post laying around in my garage which ended up being perfect for this project. It did have some splits in the wood, but I didn’t care about it being perfect – it still served its purpose! You can purchase one of these (hopefully in better condition) at your local Home Depot, Lowes or Ace. I I started by sanding it down on all sides with a 60 grit sandpaper to remove all the ink and imperfections, and then finished it off with a 120 grit to give it a smooth finish.
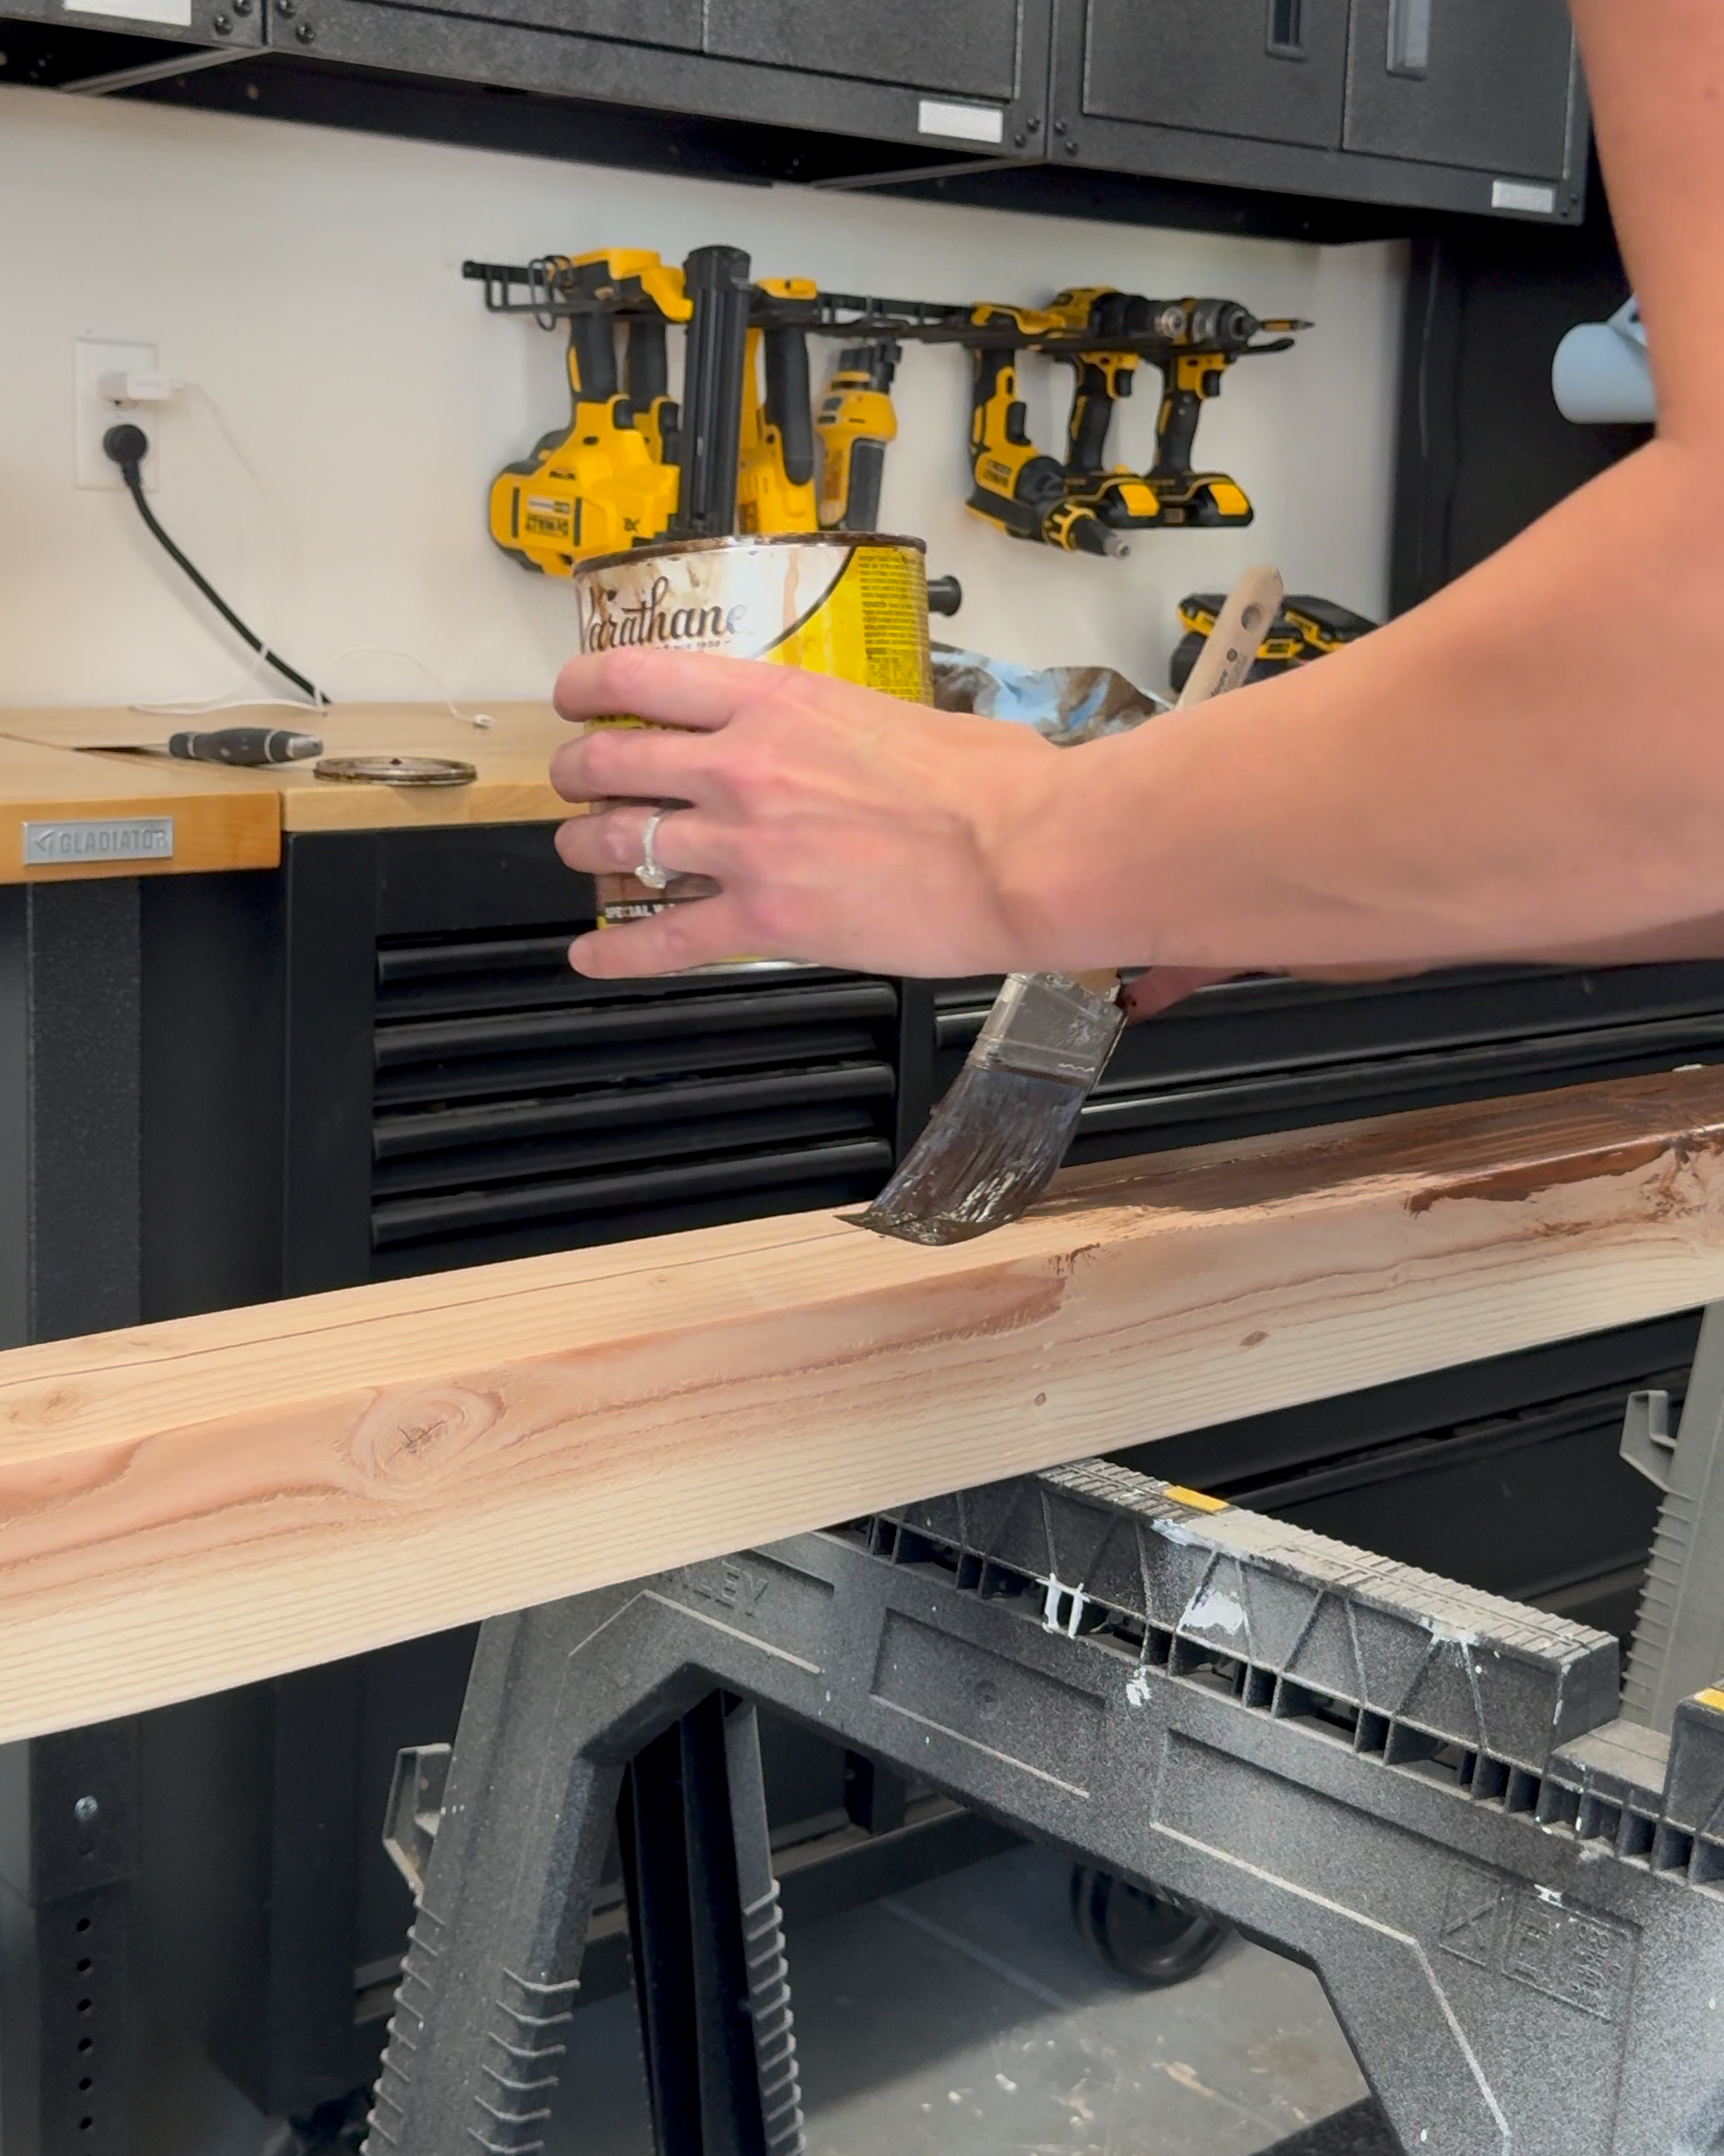
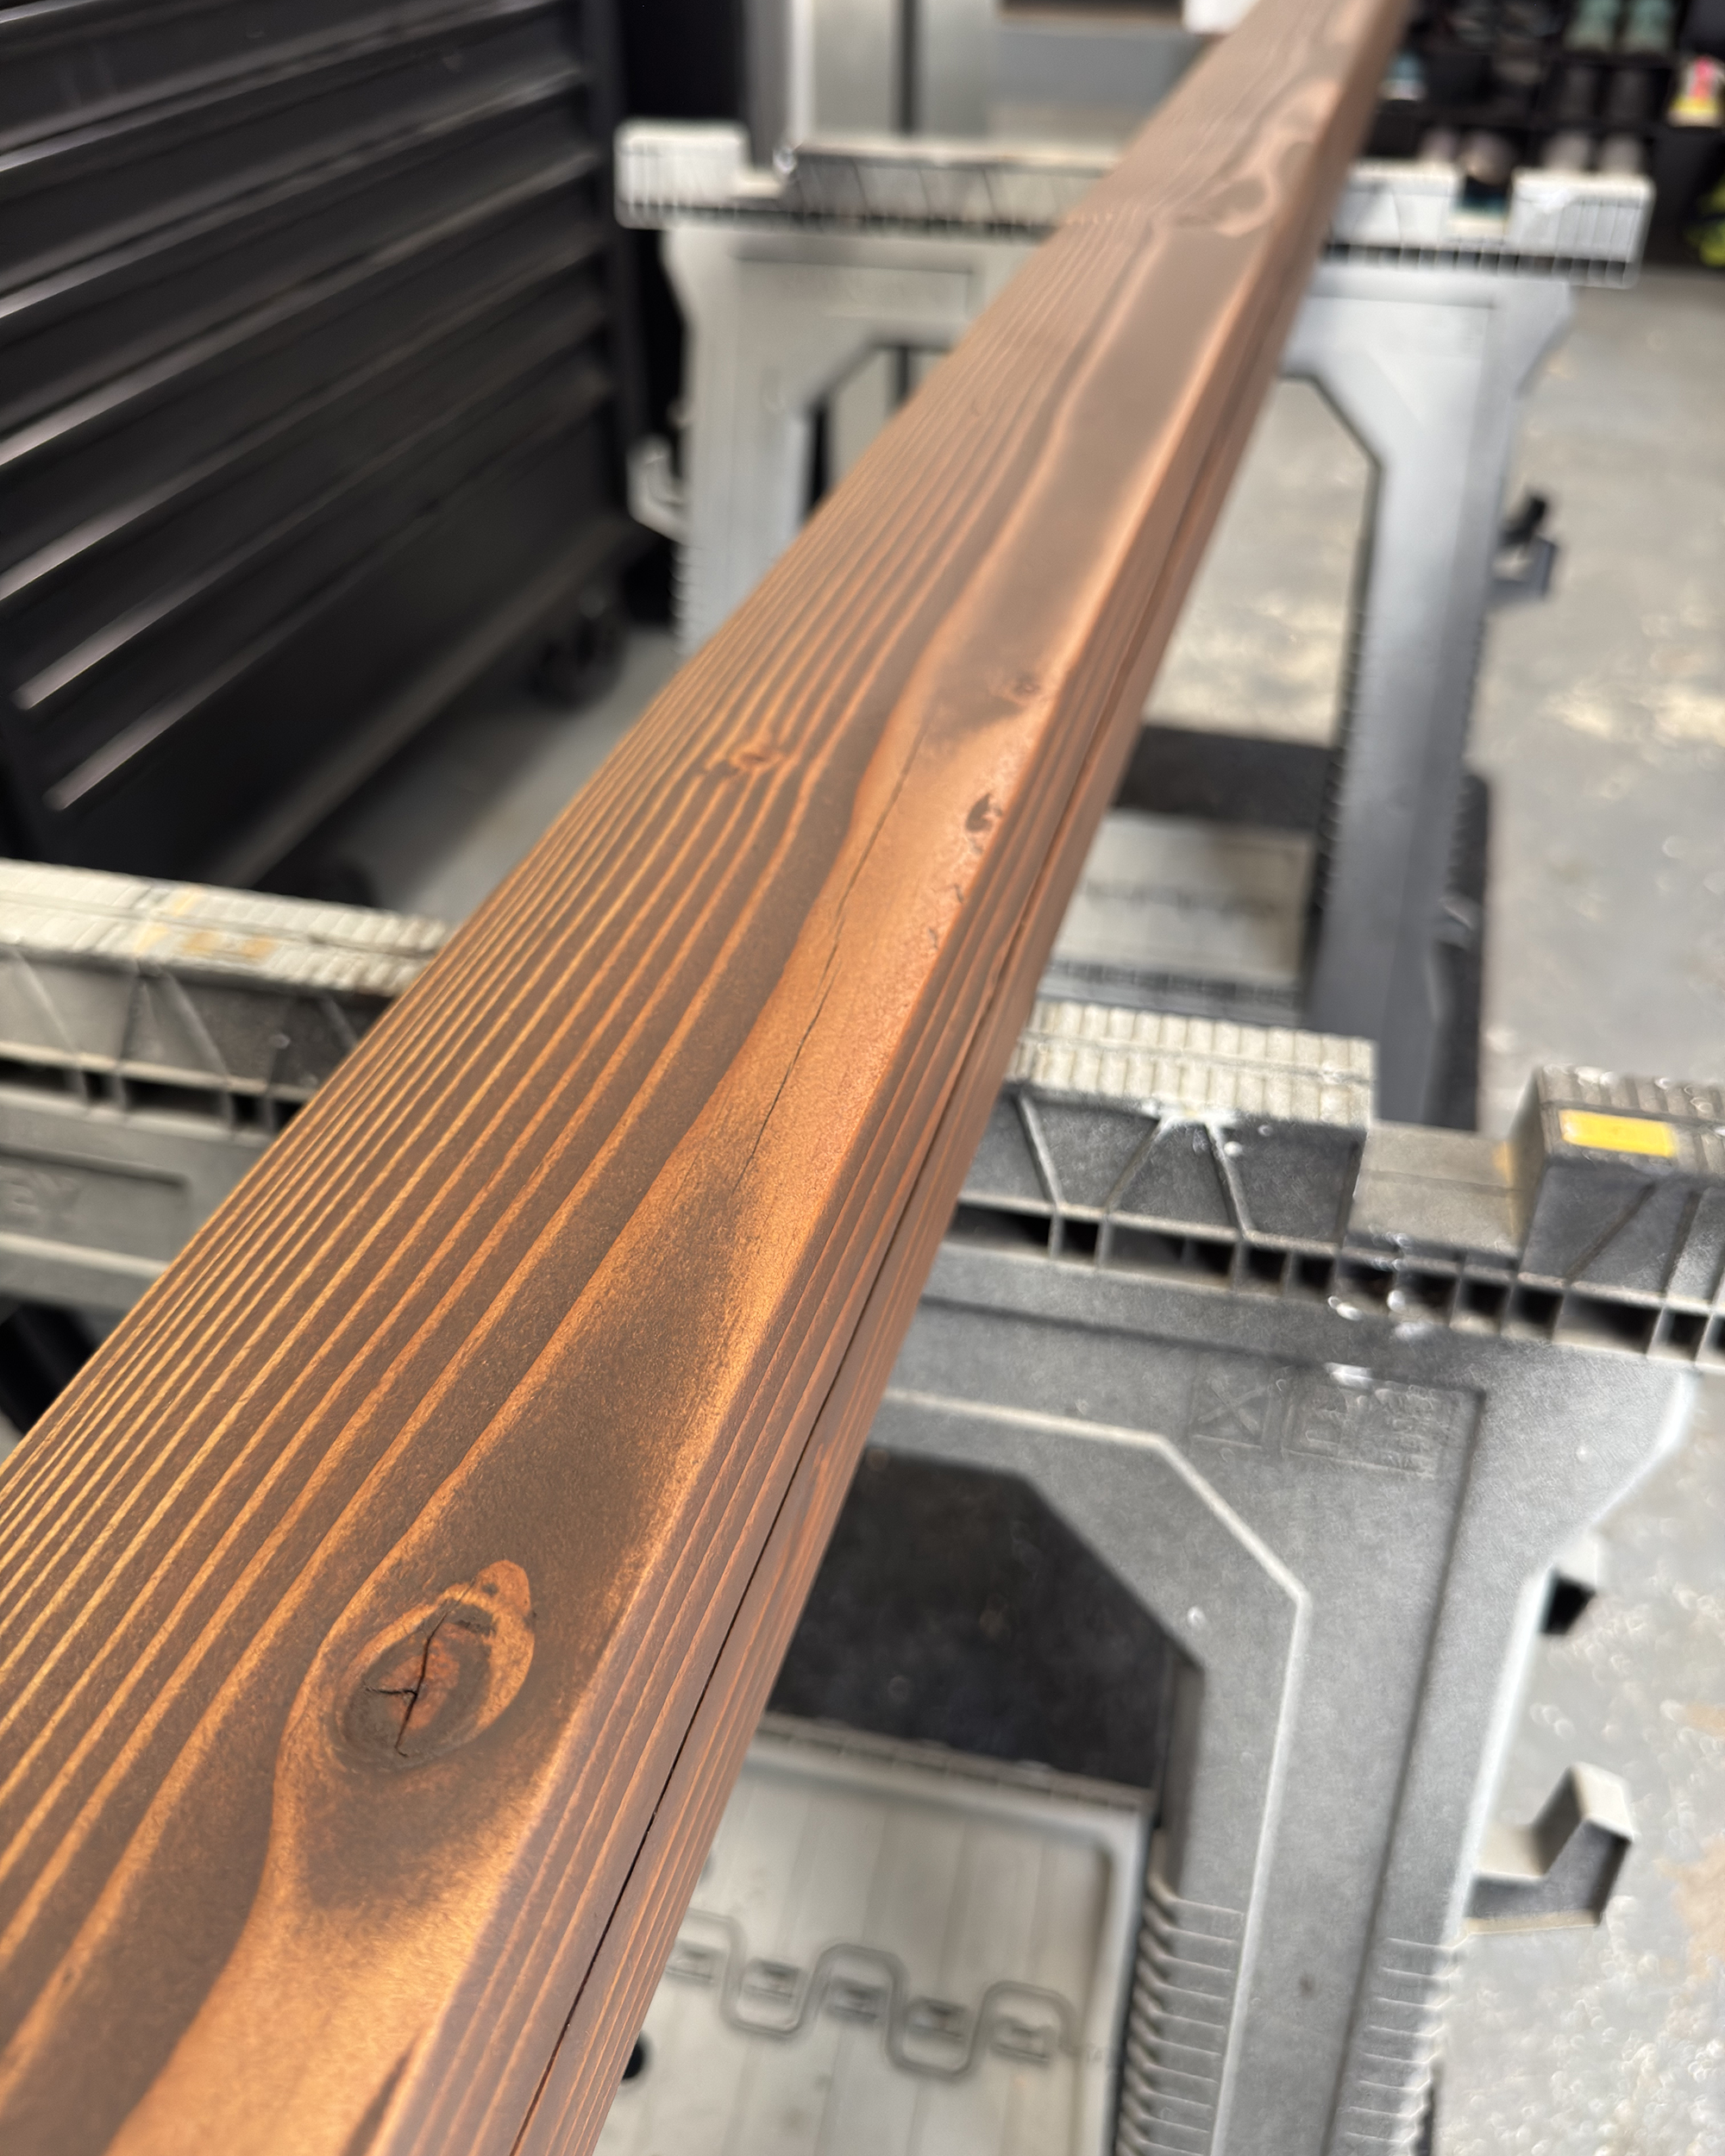
Once it was sanded and smooth I started staining it. I used a mixture of special walnut + weathered oak (about a 4:1 ratio) to try to match the color of our deck. I applied one coat of the stain with a brush and then wiped off any excess. I let this cure for a few hours before continuing with the next steps.
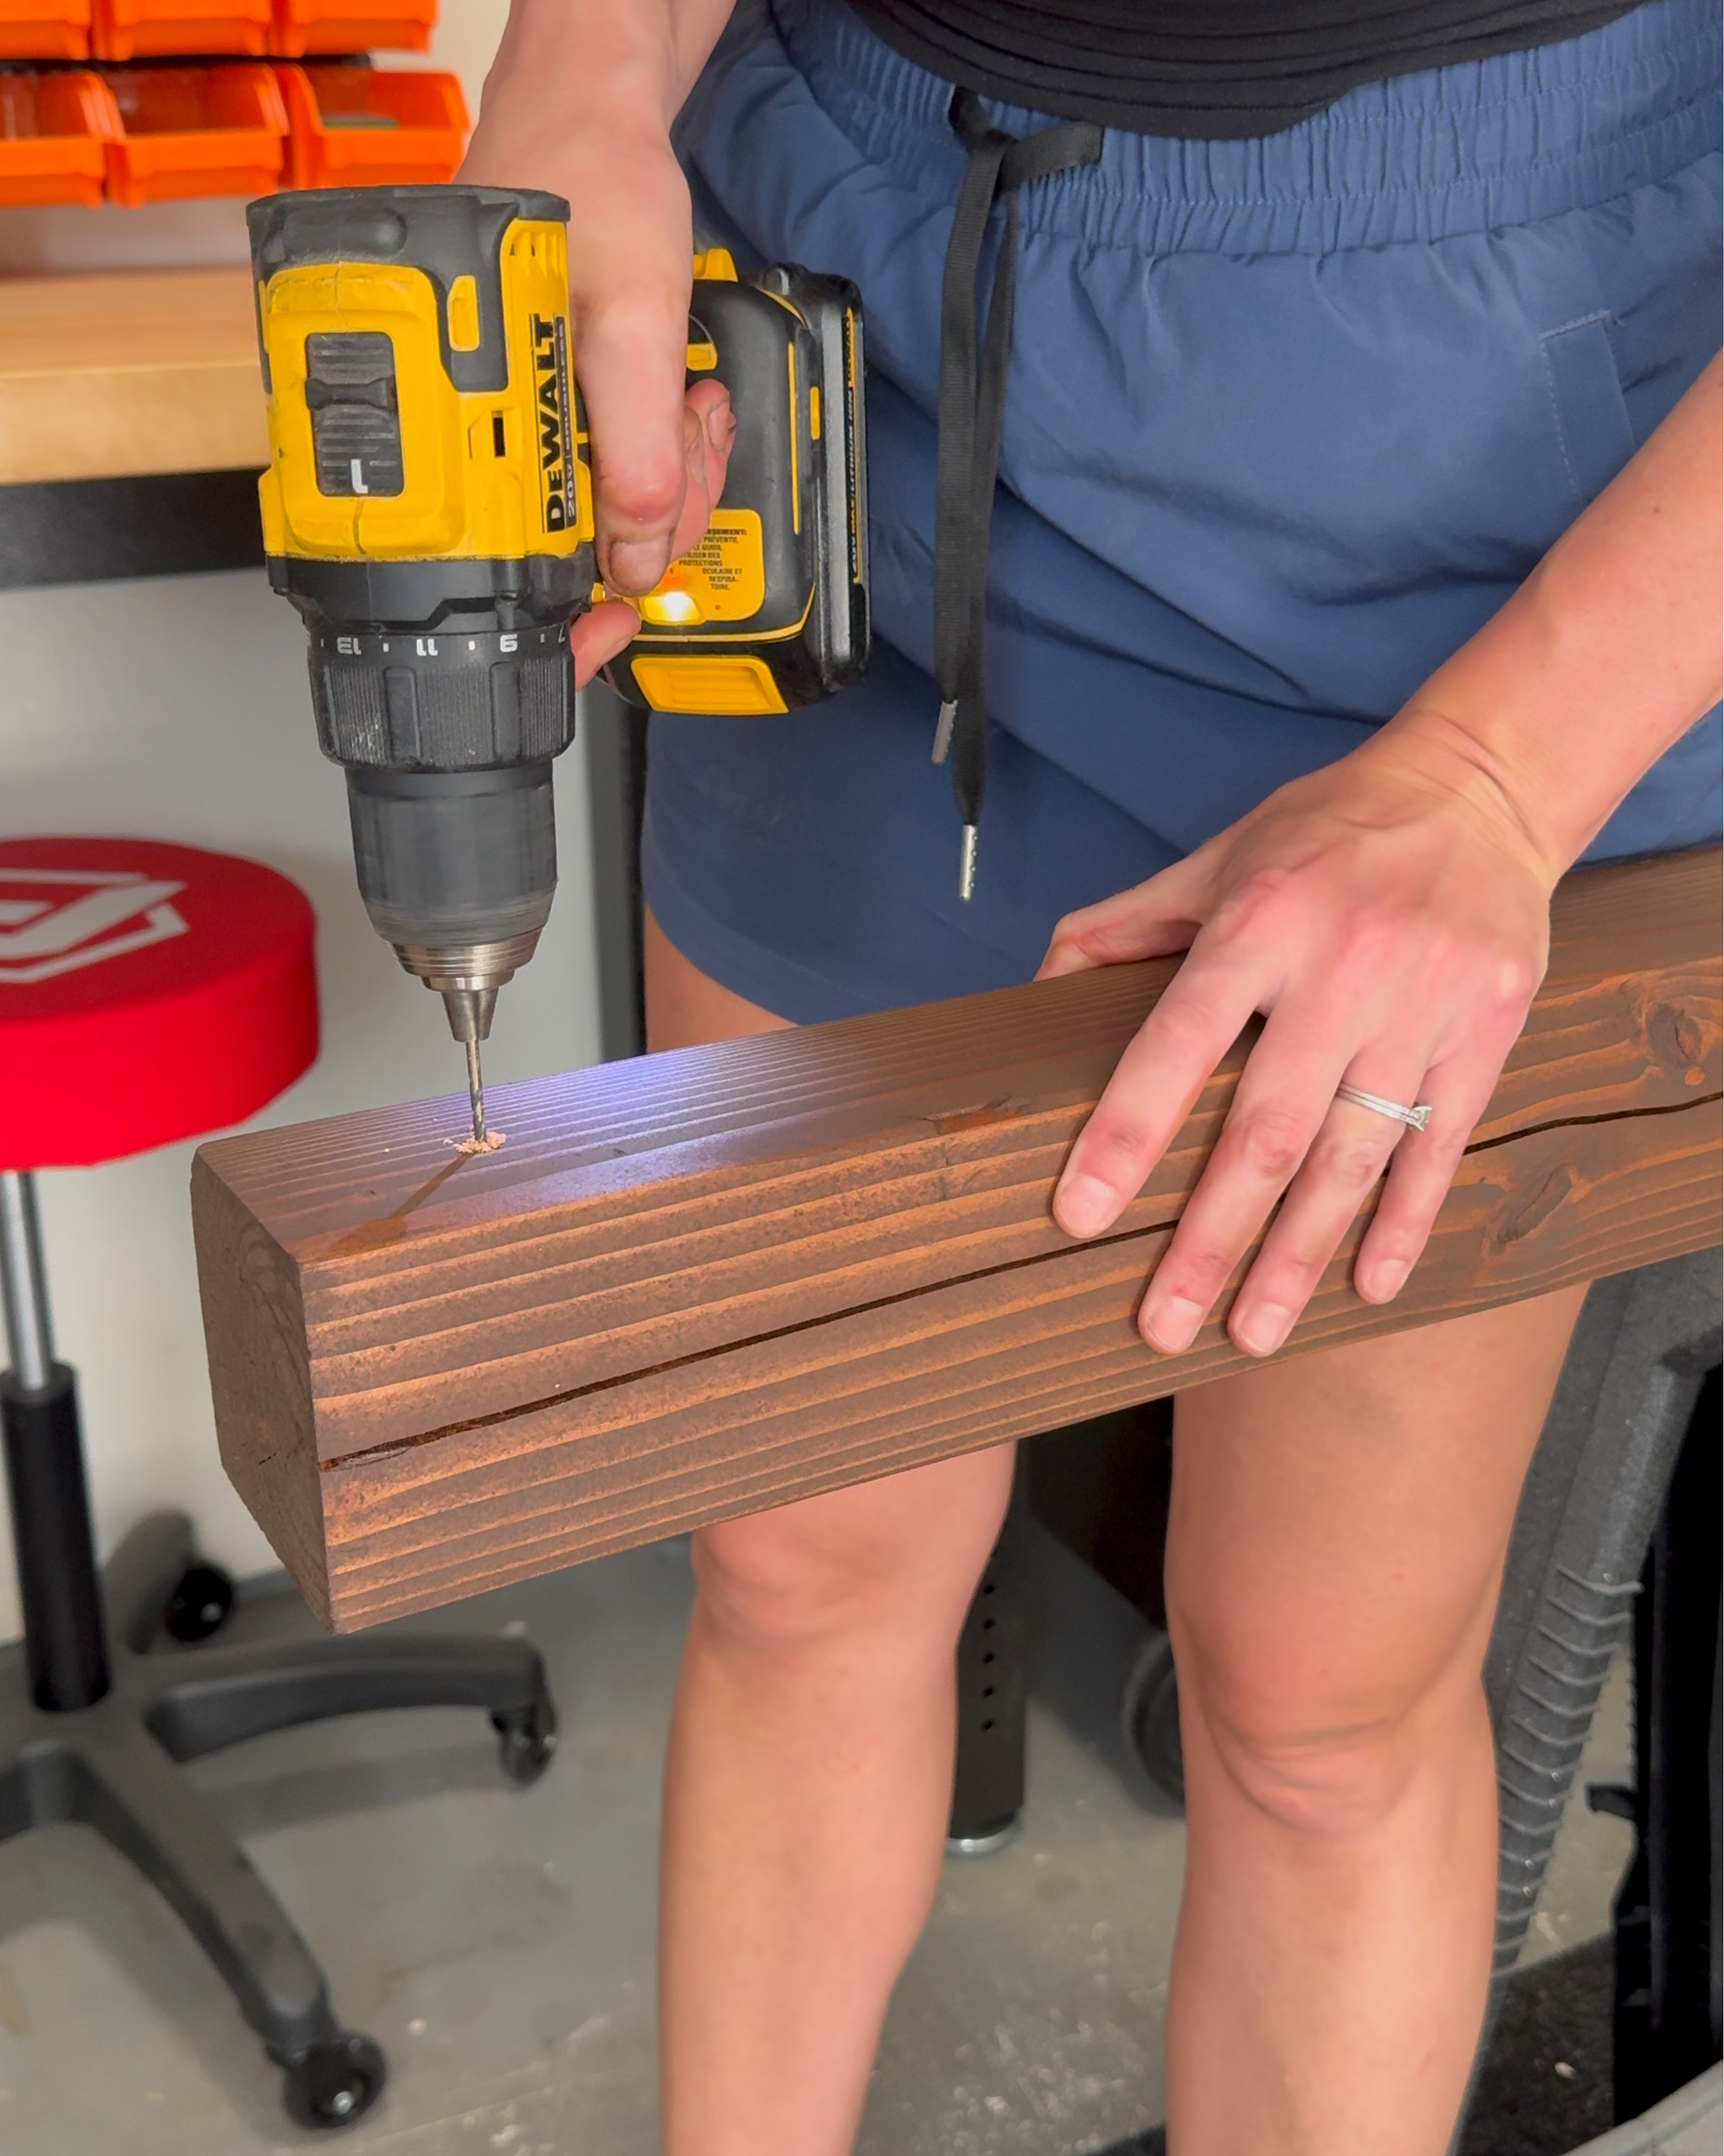
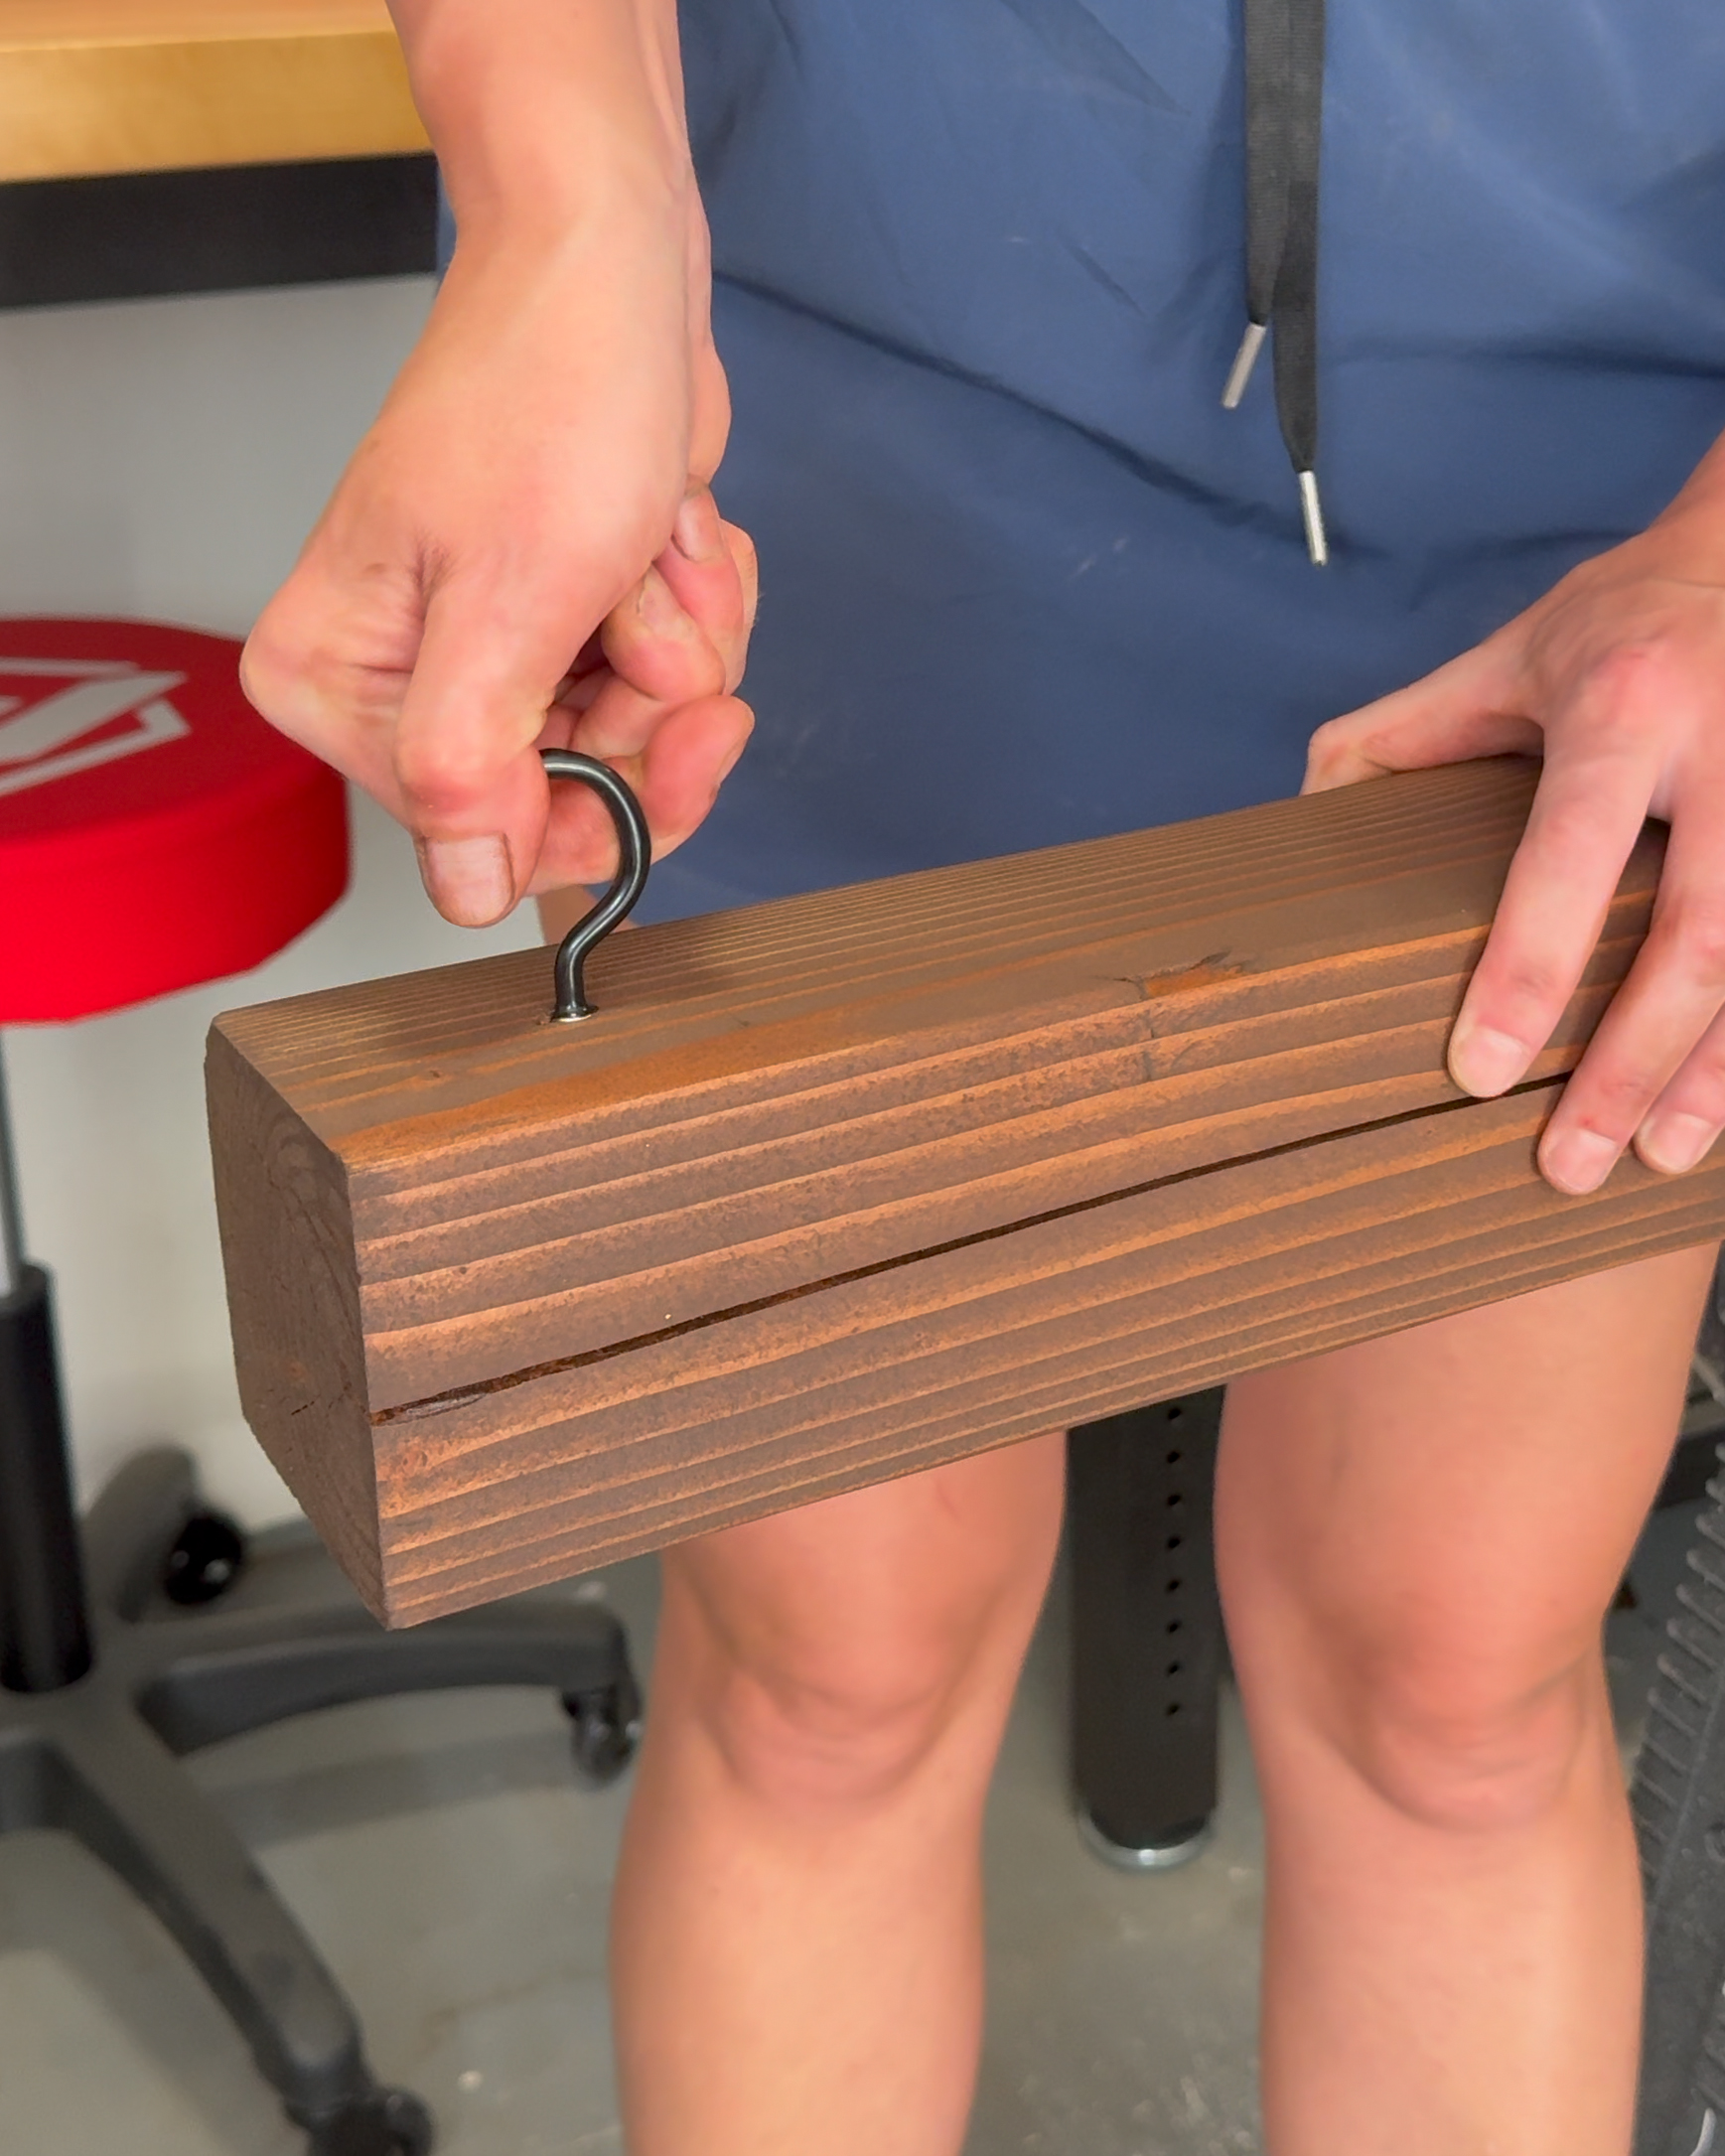
Once the stain was cured enough to handle, I drilled holes for the hooks and screwed them in. I used two hooks to go on two adjacent sides for the string lights to hang on.
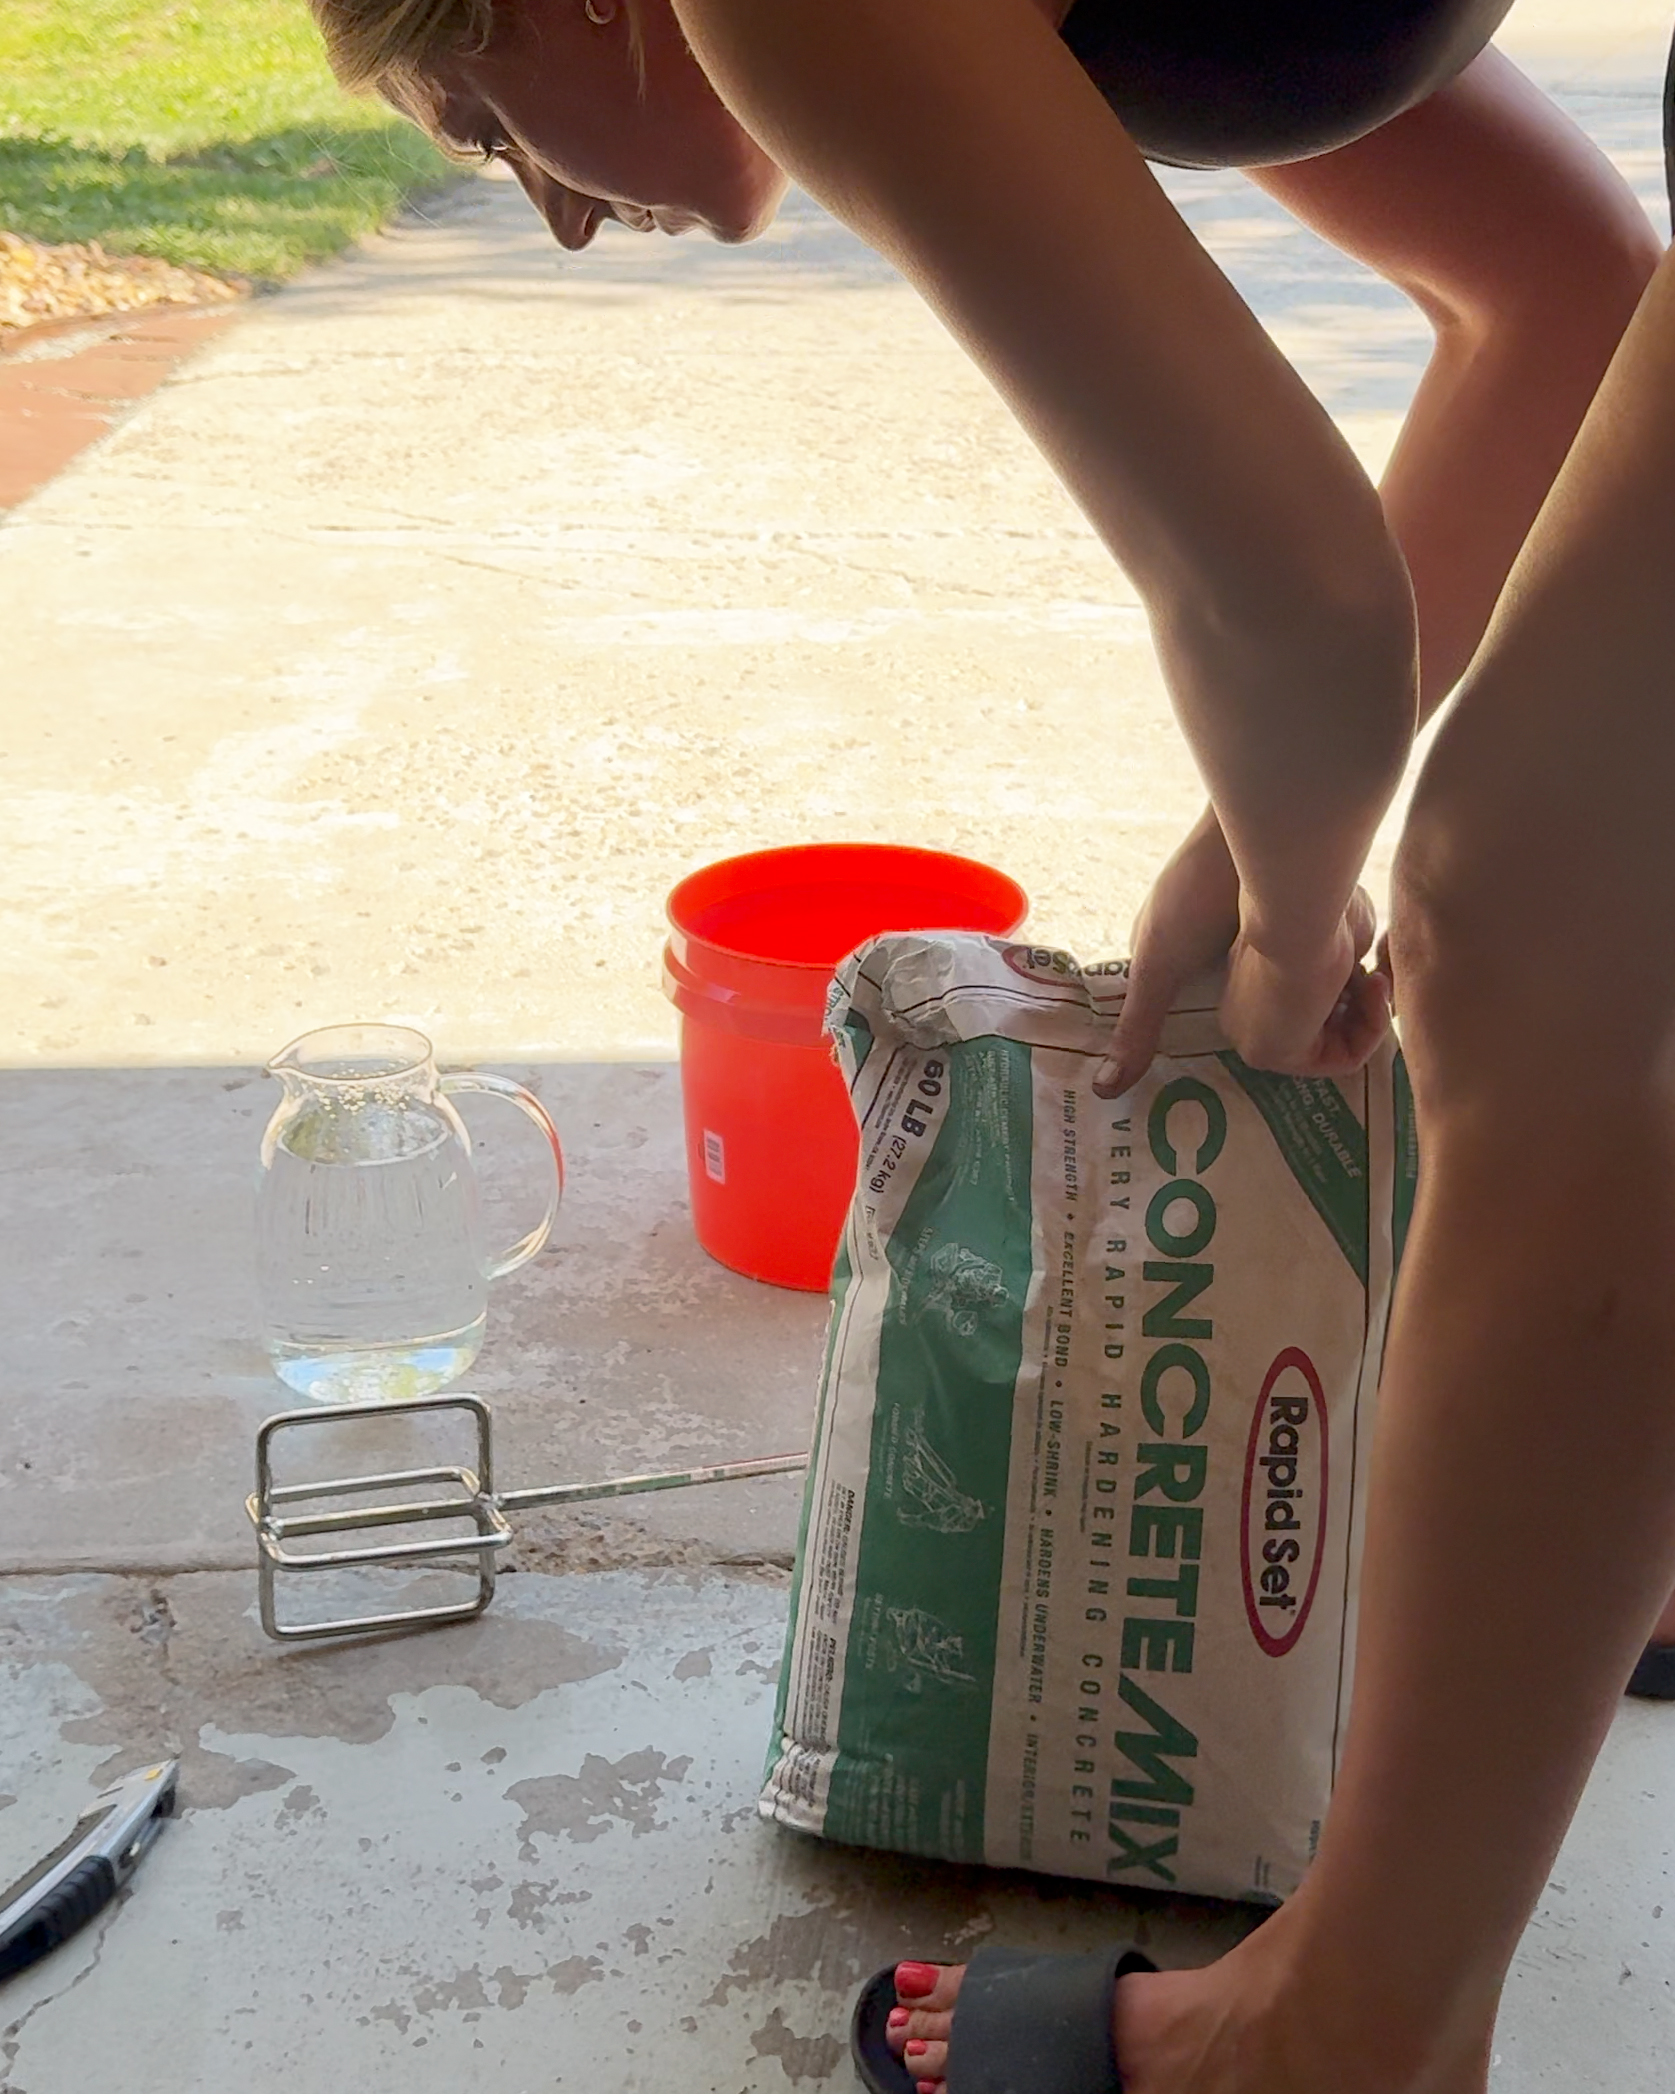
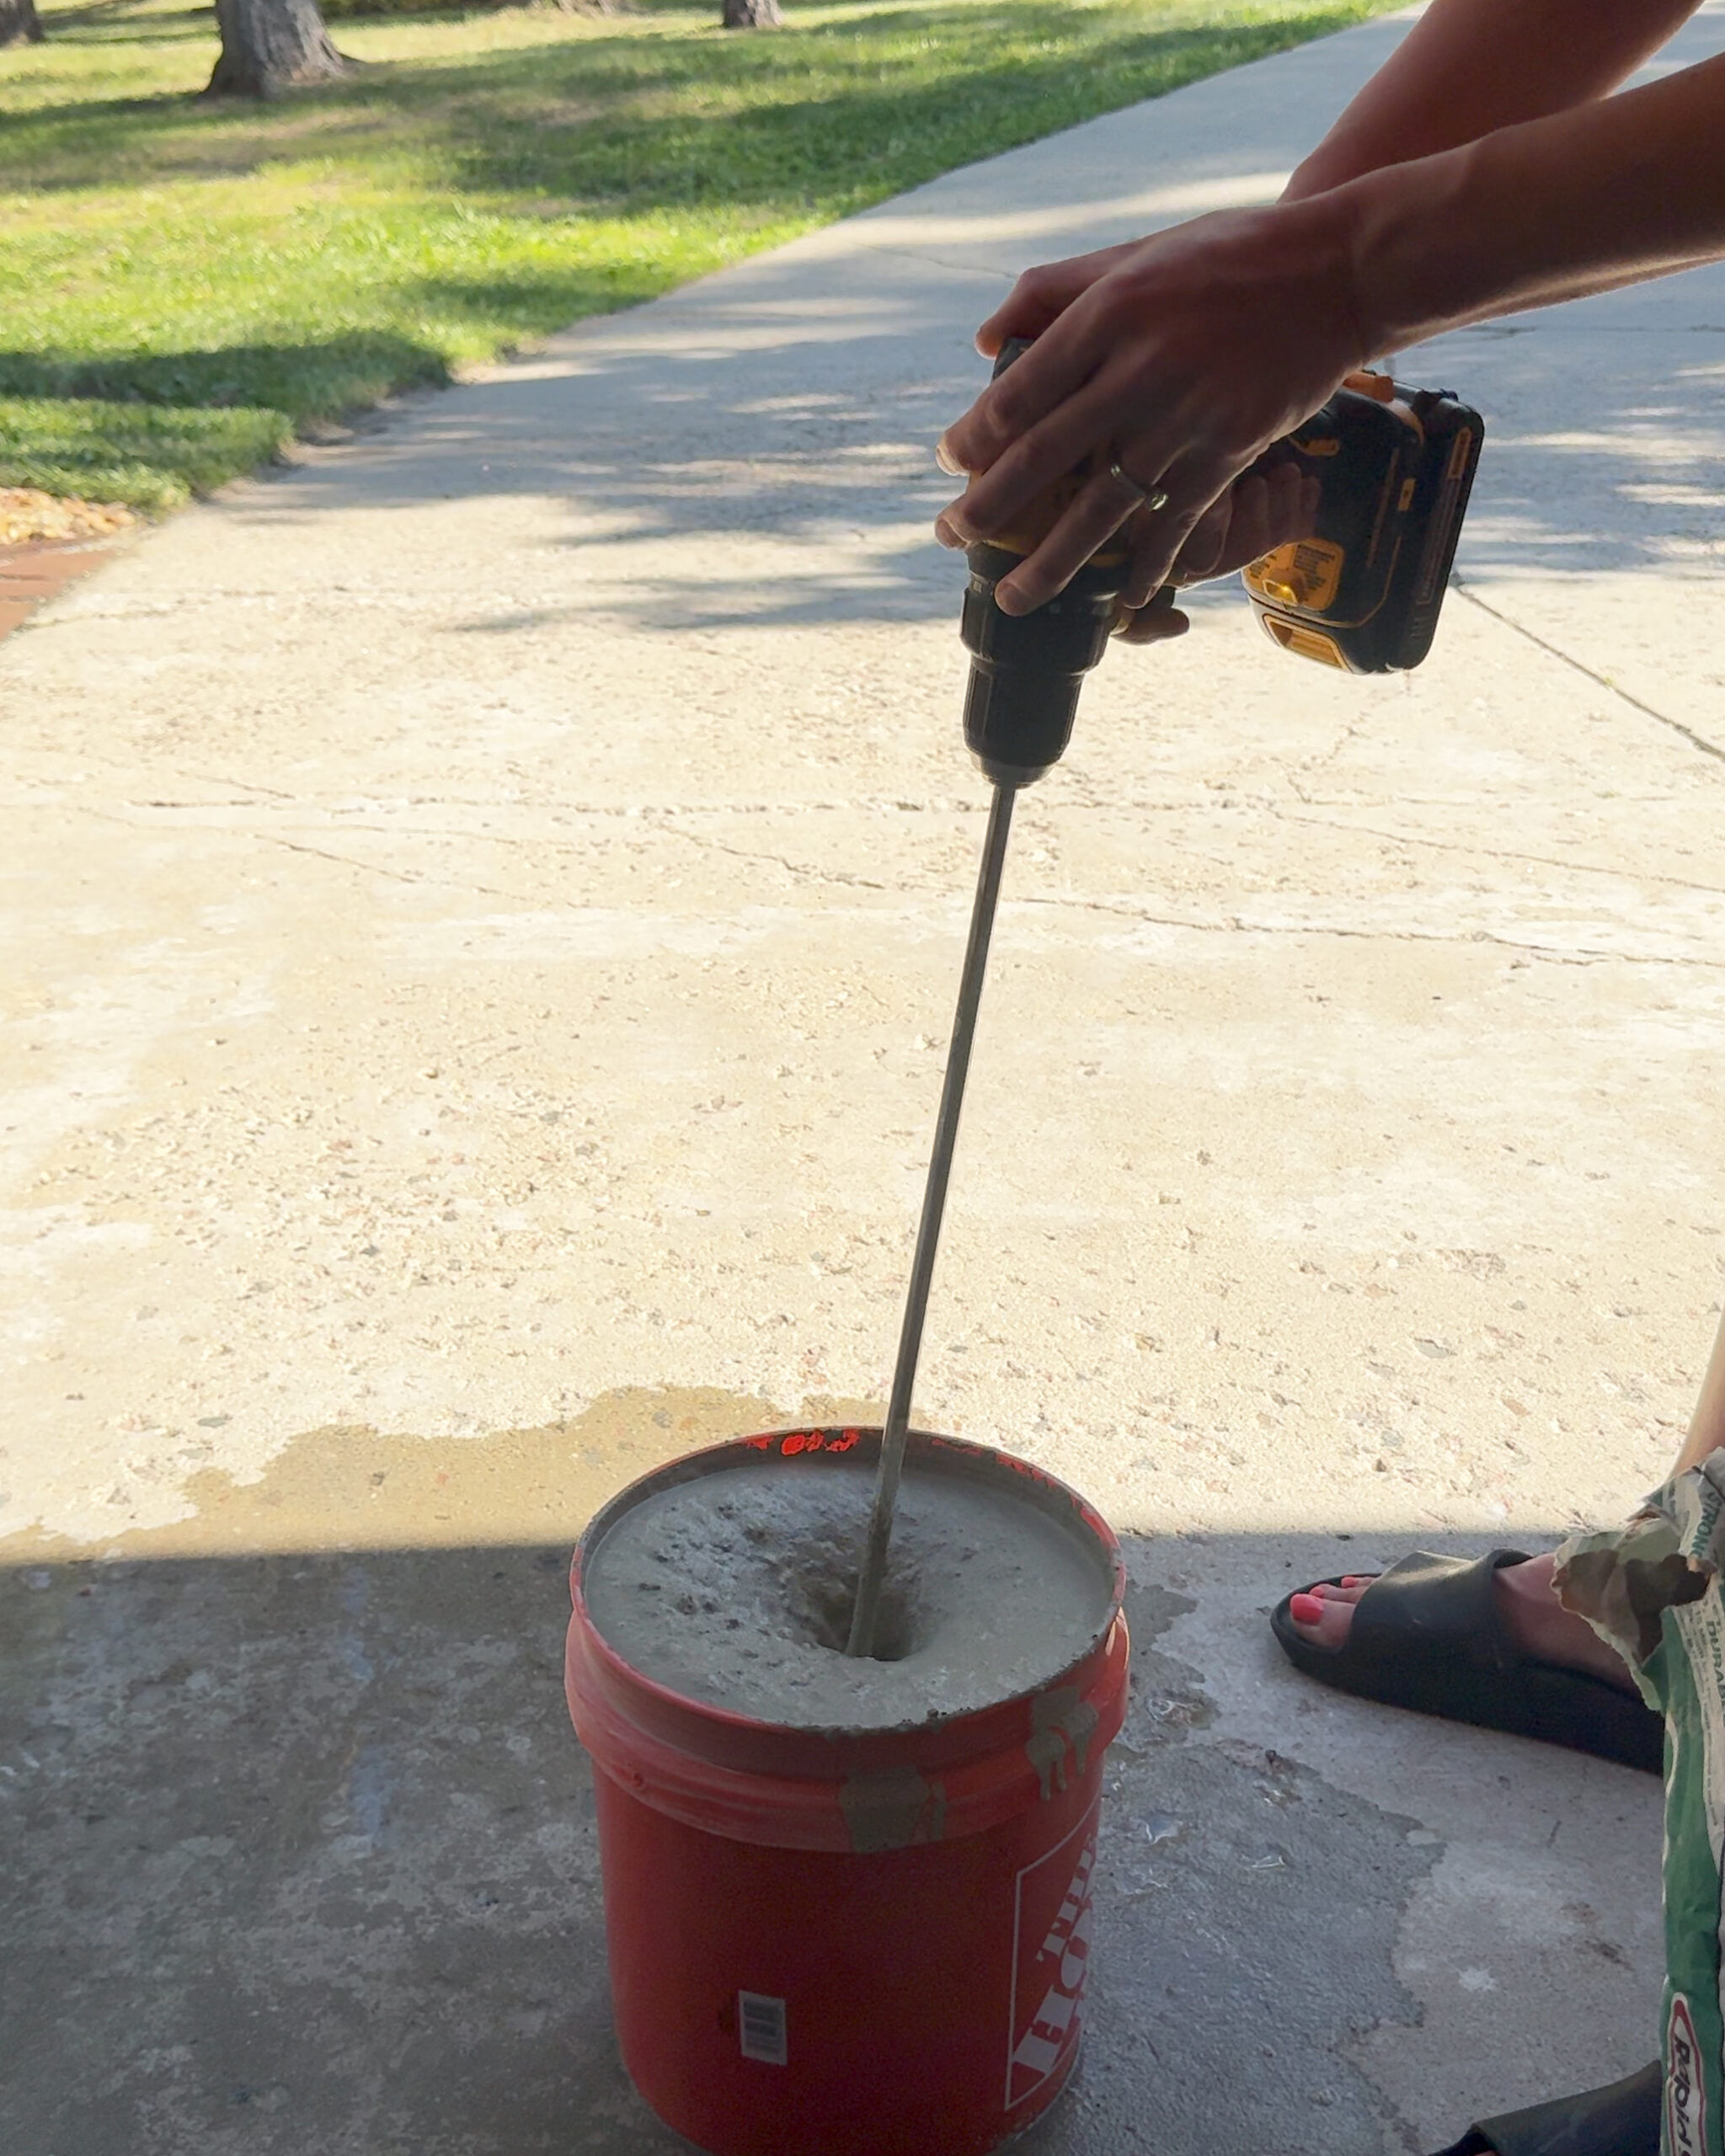
Next I started mixing my concrete – I used a rapid set concrete mix from Home Depot. I put my water in the 2 gallon bucket, added the concrete mix and mixed it up using my drill and mixer paddle. I kept adding more concrete and mixing until I got a thick peanut butter like consistency.
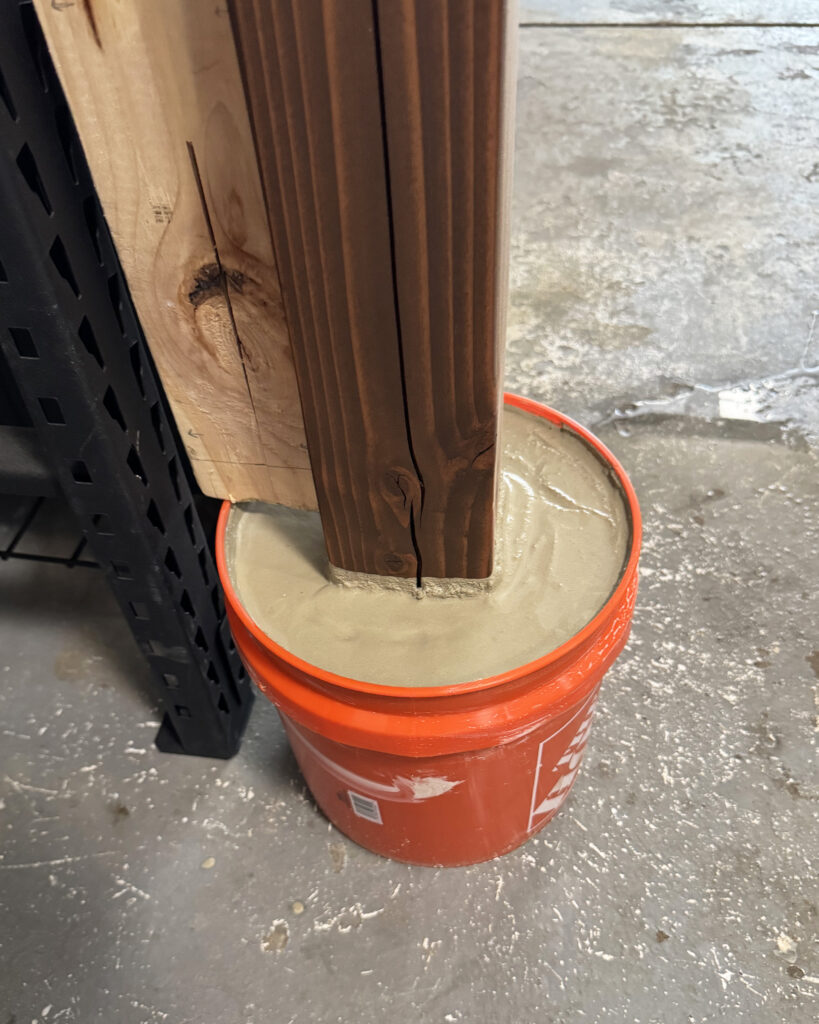
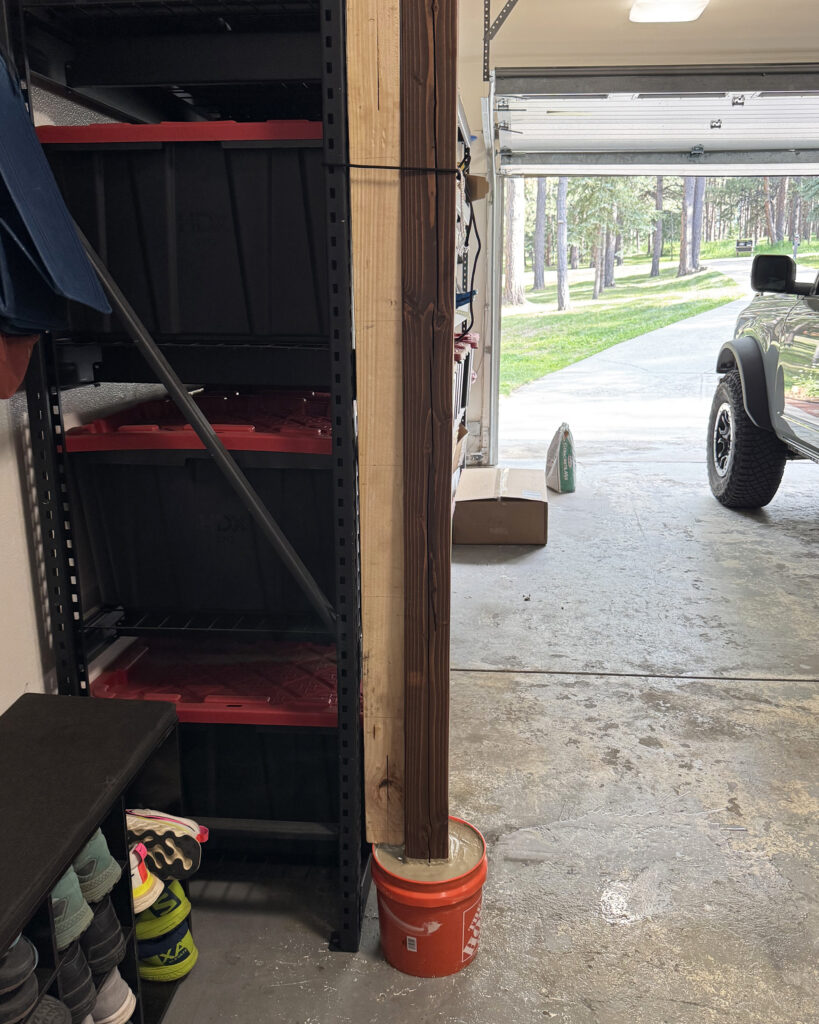
Once I got the consistency I was looking for I was able to set up the post in the concrete filled bucket. To make sure it was level, I placed the bucket next to my shelving unit in my garage and propped a 2×4 in between the shelving bracket and the post. I used some rope to tie it all together, and placed my leveler on my post to secure in in a leveled position. There may be a better way of doing this, but it worked well for me and was a convenient option with what I had in reach!
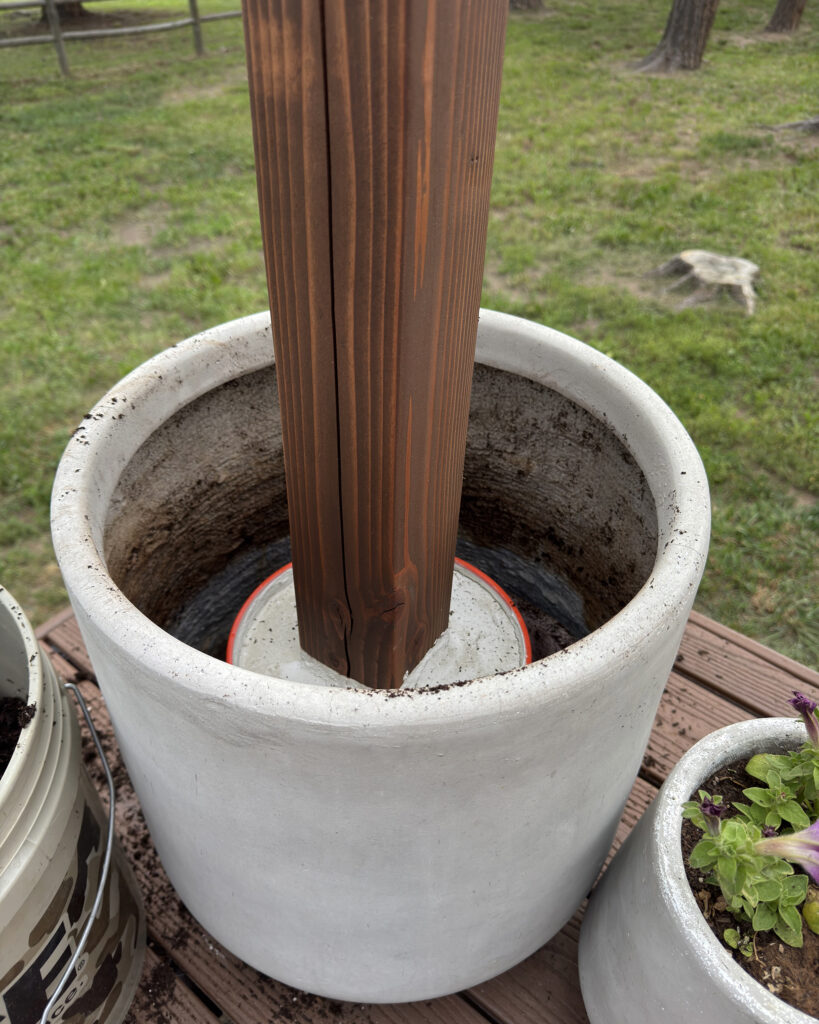
I let the post sit in the concrete like this for a couple hours to let it fully harden before moving it to the back patio. I removed the dirt in the planter I wanted to use, placed the post and bucket inside so it sat flat on the bottom of the planter, and then filled with some heavy rocks and dirt all the way to the top. I then decorated it with some faux flowers to make it look pretty next to the other two planters I had with planted flowers.
When choosing a planter, I would recommend using one with a wide, flat bottom so it doesn’t wobble or rock. Also make sure there is enough weight in the planter to avoid it from tipping. My planter worked fine once I filled with rocks, but if this was a more permanent solution I would change out the planter for one with a wider flat bottom for peace of mind.
I also had to add some rocks around the planter on one side because our deck is lifting up in that corner, so this was an extra security measure to make sure it didn’t tip since my surface wasn’t totally level. Hopefully you don’t have this problem!
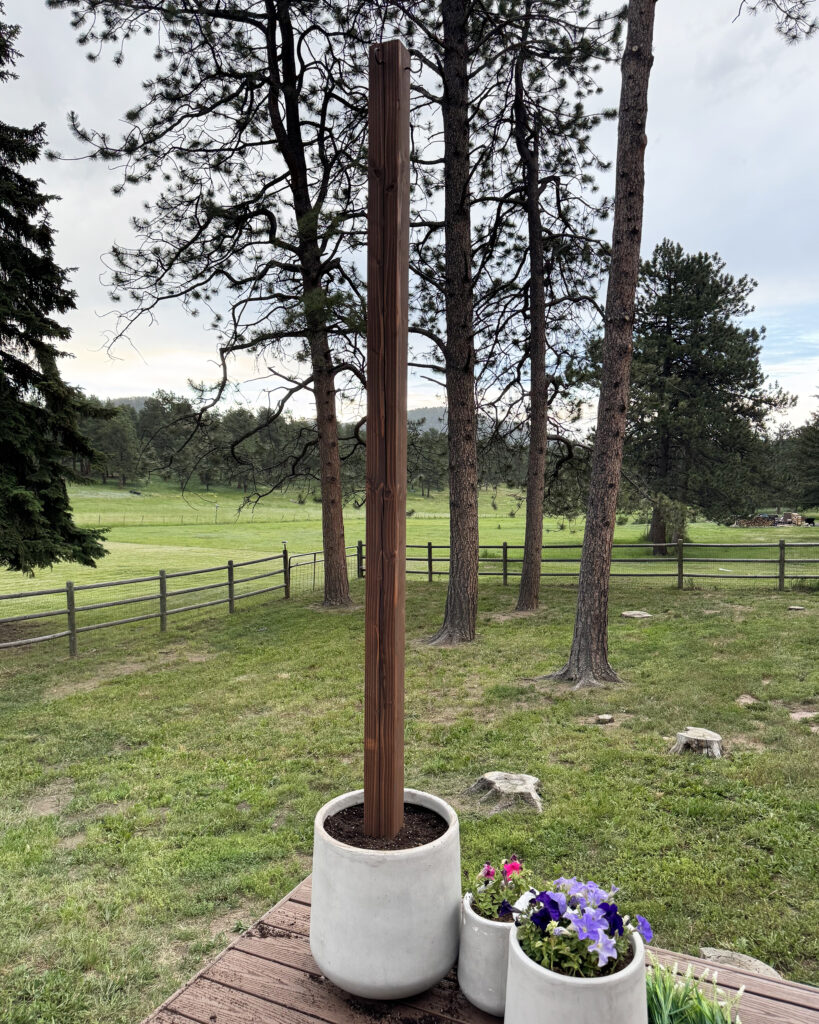

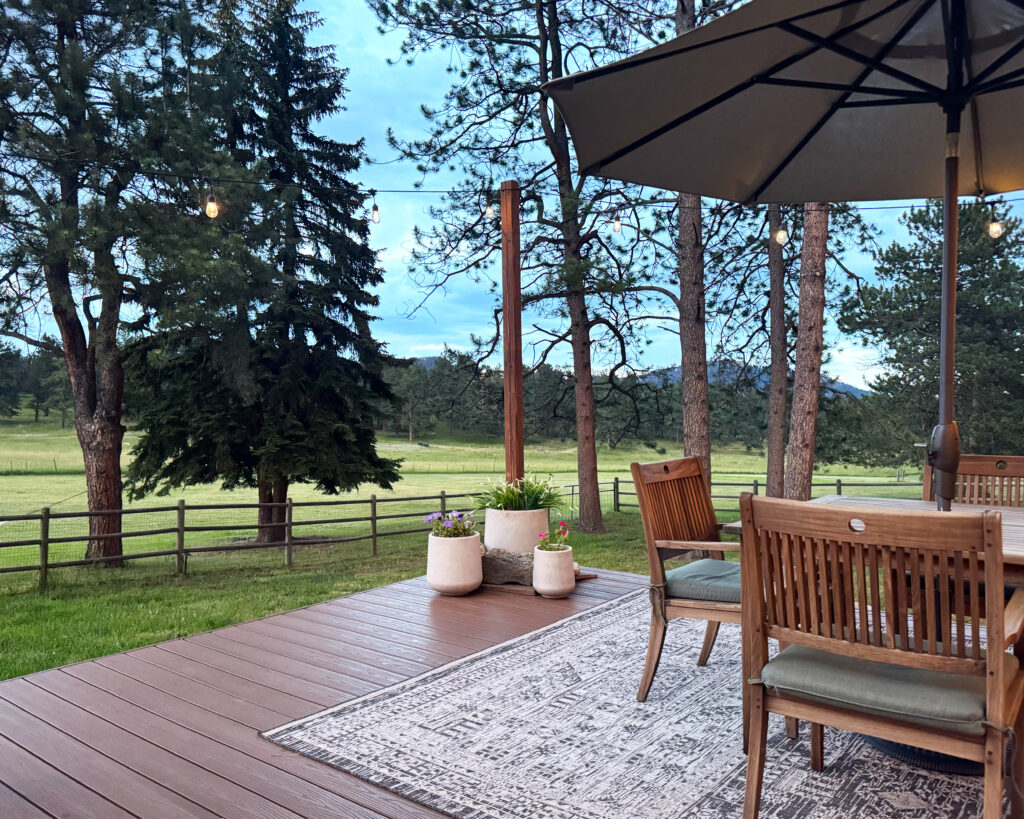
The After


This was an easy DIY project that was inexpensive and only took me a couple hours of work. I love how it added an extra glow and cozy ambiance to our deck for our party and we’ll use it all summer long!
Materials I Used:
- 4x4x8 post
- Orbital sander + sandpaper (60 & 120 grit)
- Wood stain (4:1 ratio of Varathane special walnut + Minwax weathered oak)
- Stain brush
- Hooks
- 2 gal bucket
- Rapid set concrete
- Level
- Planters
- Faux flowers
- Solar string lights
*This post may contain affiliate links. If you click on a link and make a purchase, I may receive a commission at no extra cost to you
Thanks for your support and following along in this project! I hope you found it useful or it sparked some inspiration in your own home.
Cheers,